Do you find yourself looking for a thoughtful gift that doesn't cost a lot of money? I have a great tutorial for you. These are great for co workers, neighbors, etc. I have given these out several times and they are always a hit.
Here is a step by step tutorial of how I make these.
1. Cut out your paper. Each candy bar has different measurements. Leave an inch above and below and enough on the sides to overlap each other.
Thicker paper workers better but I have used cardstock decorated with think scrapbook paper. Sample below.
2. Add glue or tape as shown in the picture. I prefer the red tacky tape because you don't have to worry about it drying.
3. Glue the paper around the candy bar. I pull off the red tape and roll the paper around the candy bar.
4. Crimp the ends with a crimper. I you don't have a crimper just glue the ends together.
5. I added brads to the bottom (if you don't have a crimper than I would definitely add the brads to the bottom to keep it together more securely.)
6. Make two hole through the top and add your ribbon. I added a bell and love it!
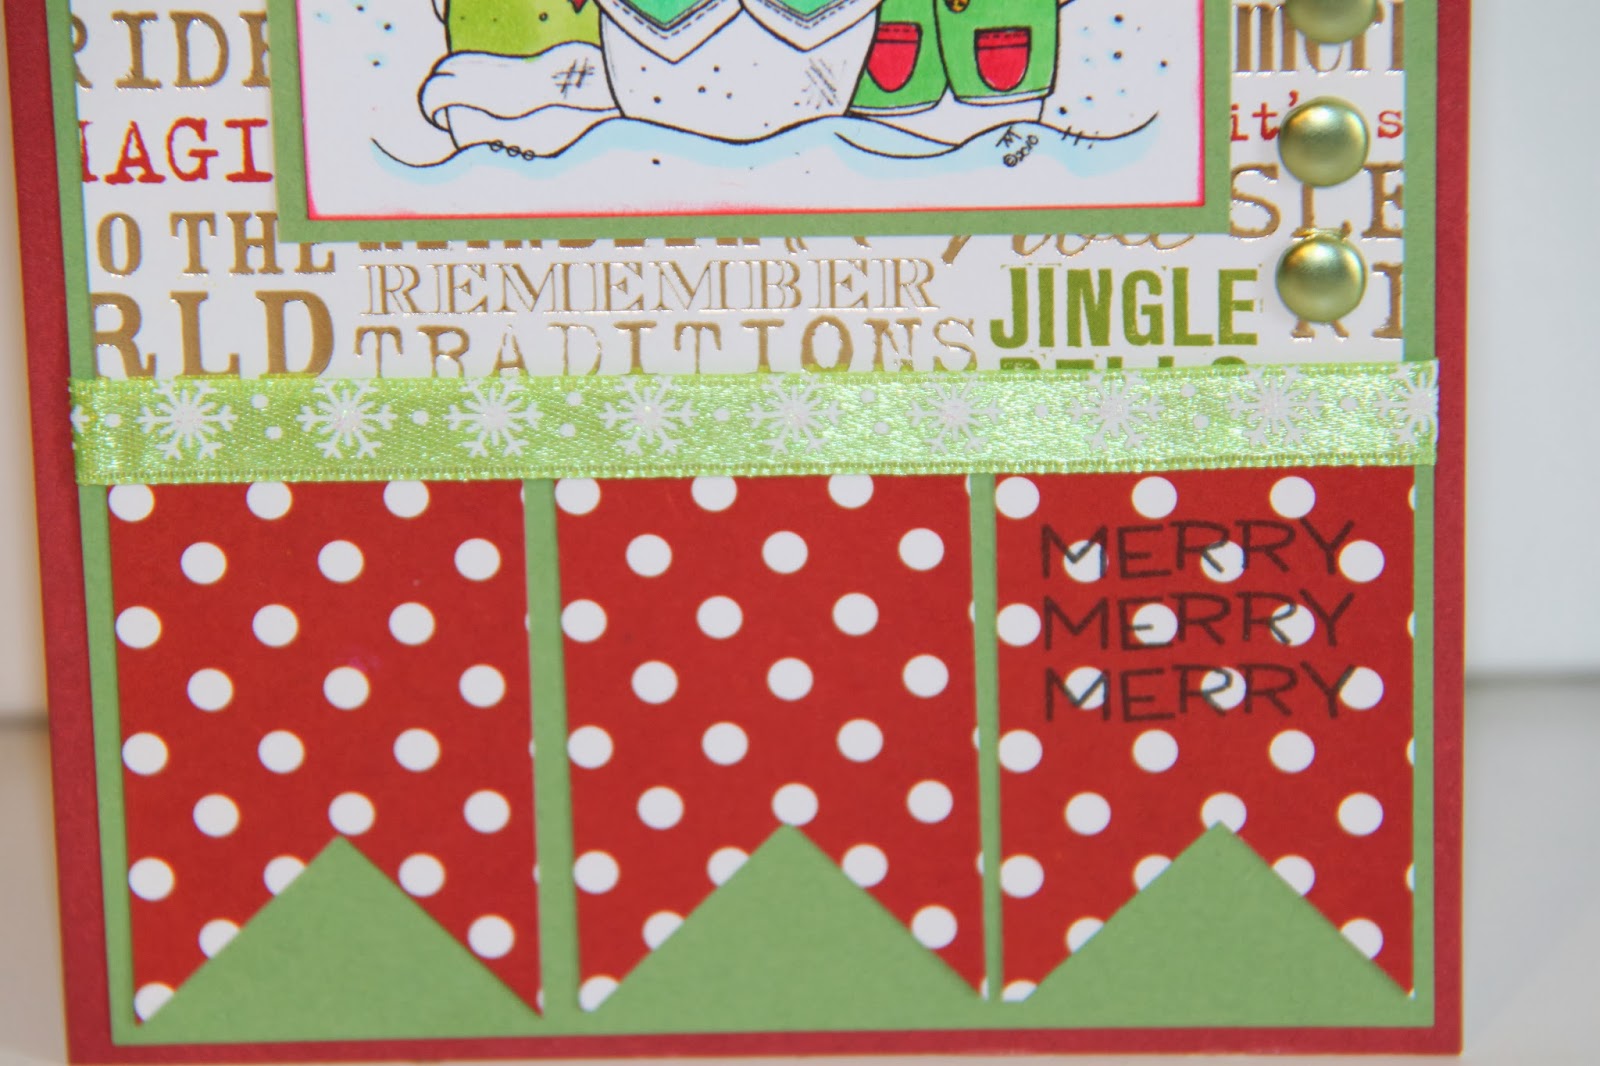
7. Of course decorate! I used this super cute HLO. This is
His Little Ones: Shepherd Boy. I colored him with Copics.
You can make these for any occasion. Here is another example I made for a birthday example.
I used card stock and thin DP on this one. I used
HLO Angel on this one. These HLO from Inspired Stamps fit perfectly on these candy bar wrappers.
You can find these stamps and many others at the
Inspired Stamps Store.


